Register your restaurant on Etable to grow your food business and shift effortlessly into the digital age. Whether you manage a QSR, café, or fine-dine restaurant, going digital is no longer optional—it’s the future. Moreover, Etable is one of India’s top restaurant POS platforms, helping you streamline operations, simplify ordering, and manage your daily tasks with ease.
Step 1: Visit the Etable Website
To begin with, head over to www.etable.co.in. You’ll find all the essential information about features, pricing, and services right on the homepage. In just a few clicks, you can get started without any confusion.
Step 2: Choose a Plan That Matches Your Business
Next, visit the pricing section to select a plan tailored to your restaurant type:
Etable Mini – Perfect for food stalls and cafés
Etable Pro – Ideal for mid-sized eateries
Etable Max – Great for larger restaurants and franchises
Additionally, each plan comes with tools based on your scale and goals, ensuring you pay only for what you need.
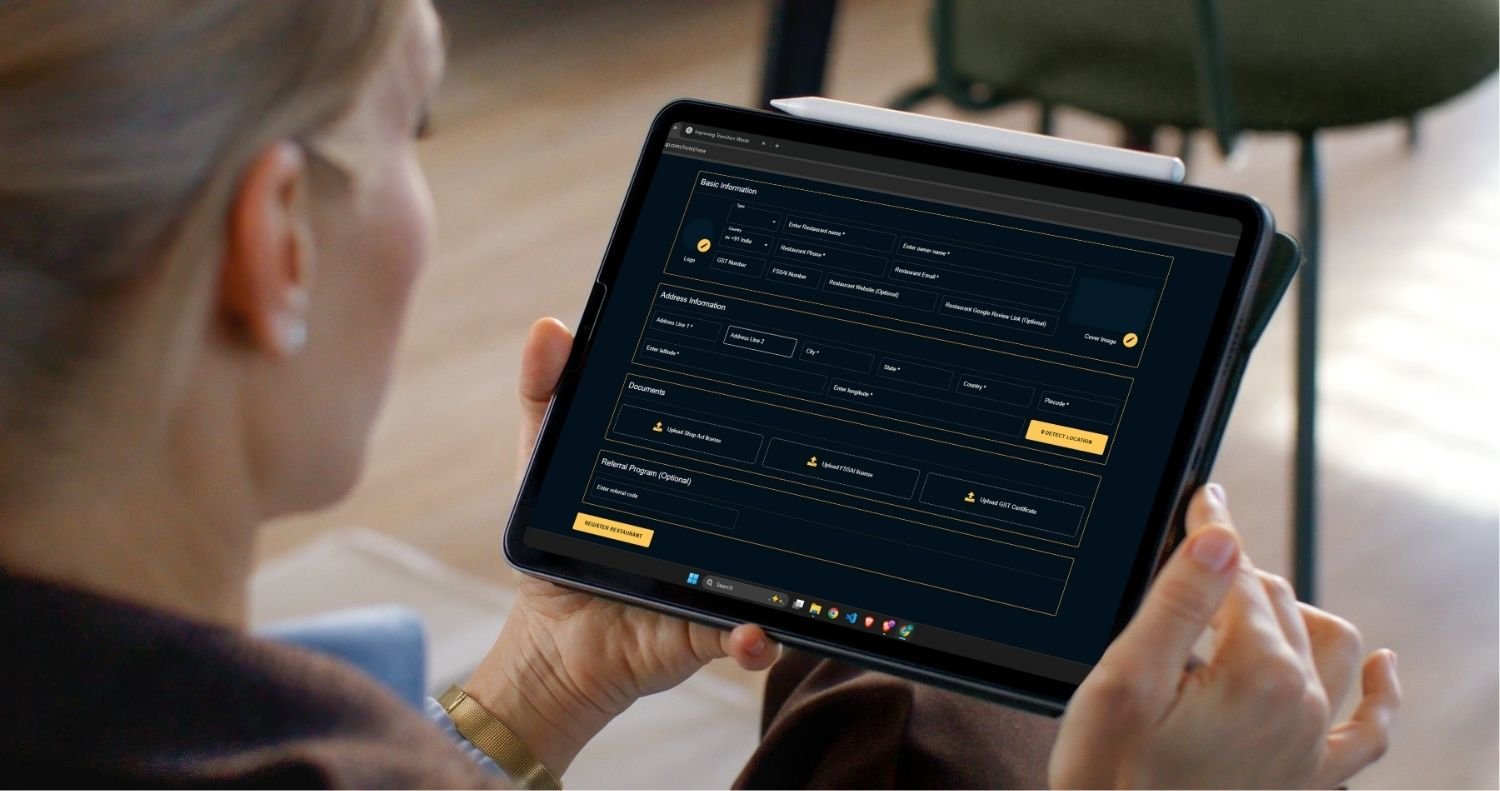
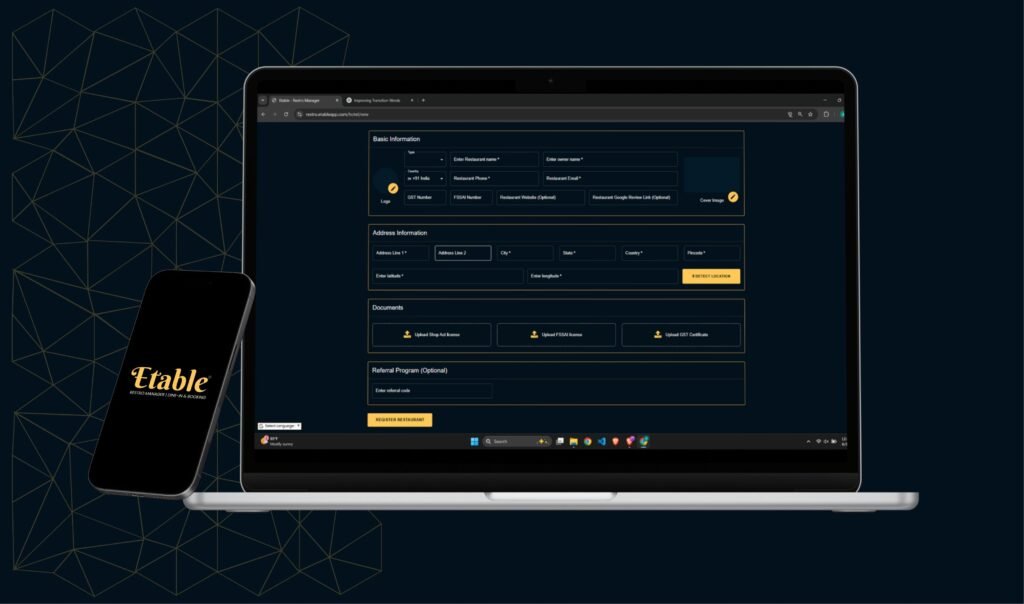
Step 3: Register Your Restaurant by Filling Out the Form
After that, fill out the simple registration form. Enter details such as:
Outlet name and category
Owner’s contact info (email and phone)
Aadhaar and FSSAI numbers (optional)
Address and GST details (optional)
As a result, Etable can create a setup that’s perfectly aligned with your business structure.
Step 4: Access the Dashboard and Log In
Once registered, log in to the Etable portal. From here, you’ll be able to manage digital menus, customer orders, and restaurant performance from one central dashboard. Consequently, everything stays in sync and easy to control.
Step 5: Build and Register Your Restaurant Profile
Now, enhance your profile to attract more customers. Add your outlet’s logo, upload ambiance images, and link your location on Google Maps. Don’t forget to highlight your specialties and operating hours.
Step 6: Set Up Table Layout and QR Codes
Furthermore, you can map out your seating plan digitally. Set table numbers, define capacity, and generate QR codes for each table. Thanks to this, customers can order contactlessly while you stay organized during busy hours.
Step 7: Digitize and Organize Your Menu
In addition, group your dishes under clear categories like Appetizers, Main Course, Beverages, and Desserts. Each item can include a name, image, description, timing, and price. This structure makes your menu more visually engaging and easier to navigate.
Step 8: Add Dishes Under Each Category
Here’s how to enrich the experience further:
Add the name, description, and photo for each item
Choose meal timing (e.g., lunch or dinner)
Assign prices and dietary labels like “Veg” or “Jain”
Altogether, this makes the ordering process easier and faster for your guests.
Let Etable Assist You with Setup
Even if you’re new to digital systems, Etable has your back. Our support team helps with everything—from profile setup and menu creation to QR installation and training. With our guidance, onboarding becomes simple and stress-free.
Final Step: Start Managing Orders Like a Pro
Once setup is complete, you can handle dine-in, takeaway, and online orders effortlessly. Track bookings in real-time, manage staff efficiently, and review sales reports anytime. This all-in-one platform helps boost your efficiency and performance.
Conclusion: Register Your Restaurant on Etable Today
To sum up, registering your restaurant on Etable helps you modernize operations and attract more customers. With digital menus, QR ordering, and smart POS tools, Etable gives you everything you need to grow. So, why wait?
👉 Visit etable.co.in and register your restaurant today for a smarter tomorrow!


