Hello Everyone!
If you are an owner of any restaurant/cafe/QSR/pizzeria/bar & brewery or any food court then this blog is specially for you.
Etable is a comprehensive ordering and management system for restaurants, cafes, QSRs, pizzerias, bars & breweries, and food courts. It offers more than 35 features to operate your food business. If you are a restaurant owner, registering your business with Etable is easy and straightforward. Here is a step-by-step guide to help you with the process:
Step 1: Visit Etable’s website
Go to www.etable.co.in to access the website.
Step 2: Choose a plan
Navigate to the pricing section to select a plan that suits your needs. Etable offers three different plans: Etable Mini, Etable Pro, and Etable Max. Etable Mini is the basic plan suitable for cafes or small outlets, Etable Pro is the standard plan for restaurants, and Etable Max is the advanced plan for large restaurants or restaurant chains.
Why restaurants should use Digital Menu?
Step 3: Fill in the registration form
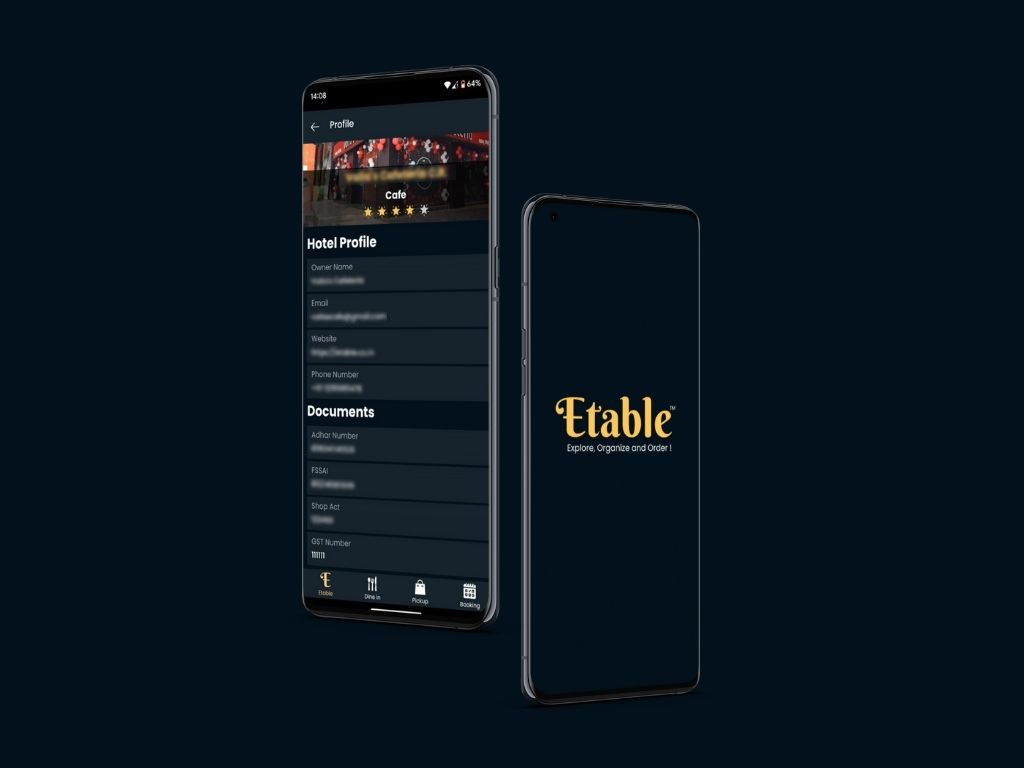
After selecting the plan, you need to fill out a registration form with basic details about your outlet, such as the name and category, your name, mobile number, email ID, Aadhar card, FSSI details, and more.
Step 4: Log in to your profile
Once you have filled in the registration form, you can log in to your Etable profile. From here, you can set up your profile manually or contact the Etable team to guide you through the next steps.
Step 5: Customize your profile
Personalize your profile by adding your outlet’s name, logo, and location or address.
Step 6: Describe your outlet
Provide a detailed description of your outlet, highlighting its specialties, ambiance, and menu.
Step 7: Add table numbers and capacity
Etable’s table management system allows you to add table numbers and their seating capacity, making it easier to manage your outlet’s seating arrangements.
Best Table, Inventory and Employee Management Application.
Step 8: Digitize your menu
Etable’s menu digitization feature enables you to upload your menu in different categories, such as appetizers, main course, desserts, etc.
Step 9: Add dishes
Once you have uploaded the menu, you can add each dish’s name, photo, description, available timings, and price.
After completing these steps, you can start taking and managing orders with Etable. Etable also offers additional features such as inventory management, customer feedback, and loyalty programs that can help enhance your customers’ experience and grow your business.
In conclusion, registering with Etable can help you streamline your restaurant operations and provide a more seamless experience for your customers. With its user-friendly interface and extensive features, Etable is a one-stop solution for all your restaurant management needs.

